Debugging
Below are the instructions for debugging the integration.
Diagnostics Export
For most "why does occupancy look wrong?" questions, download diagnostics first — it captures every prior, weight, evidence value, decay state, learned correlation, and health issue in a single JSON file without any logging configuration. Open the integration card in Settings → Devices & Services, click the ⋮ menu, and choose Download diagnostics. See Diagnostics for what's in the file and how to read it.
Sensor Health Repairs
The integration automatically monitors sensor health and creates repair entries in Settings → System → Repairs when issues are detected. Check there if occupancy detection seems inaccurate — a stuck or offline sensor may be the cause. See Sensor Health Monitoring for details.
Debug Logging
-
Enable debug logging
- Add the following to the
configuration.yamlfile - Restart Home Assistant
- Add the following to the
-
Perform the action you want to debug
- For example, if you want to debug the occupancy sensor, you can trigger a motion sensor to change the occupancy state
- Check the logs in Home Assistant
- Go to Settings
- Click on "System"
- Click on "Logs"
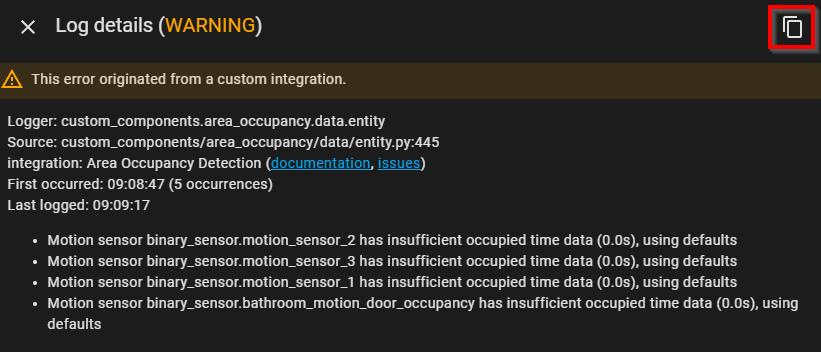
- Look for the integration name (e.g.
area_occupancy or Area Occupancy Detection) - Look for the debug messages, there may be warnings or errors. Warnings are not a problem, but errors are.
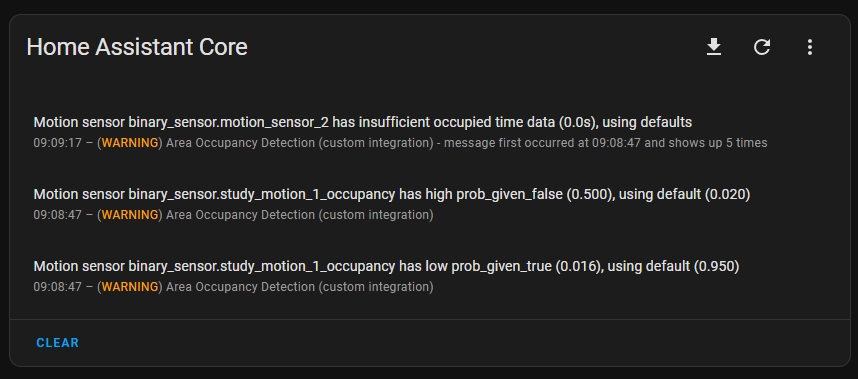
- If there are errors, please open an issue on the GitHub repository
- Open the error in the logs and copy the error message